

If you want to prepare tasty homemade preserves or store food for a long time, you cannot avoid a fundamental step: sterilize the jars. This procedure is essential to prevent dangerous microorganisms from growing in food, as well as to make it last much longer.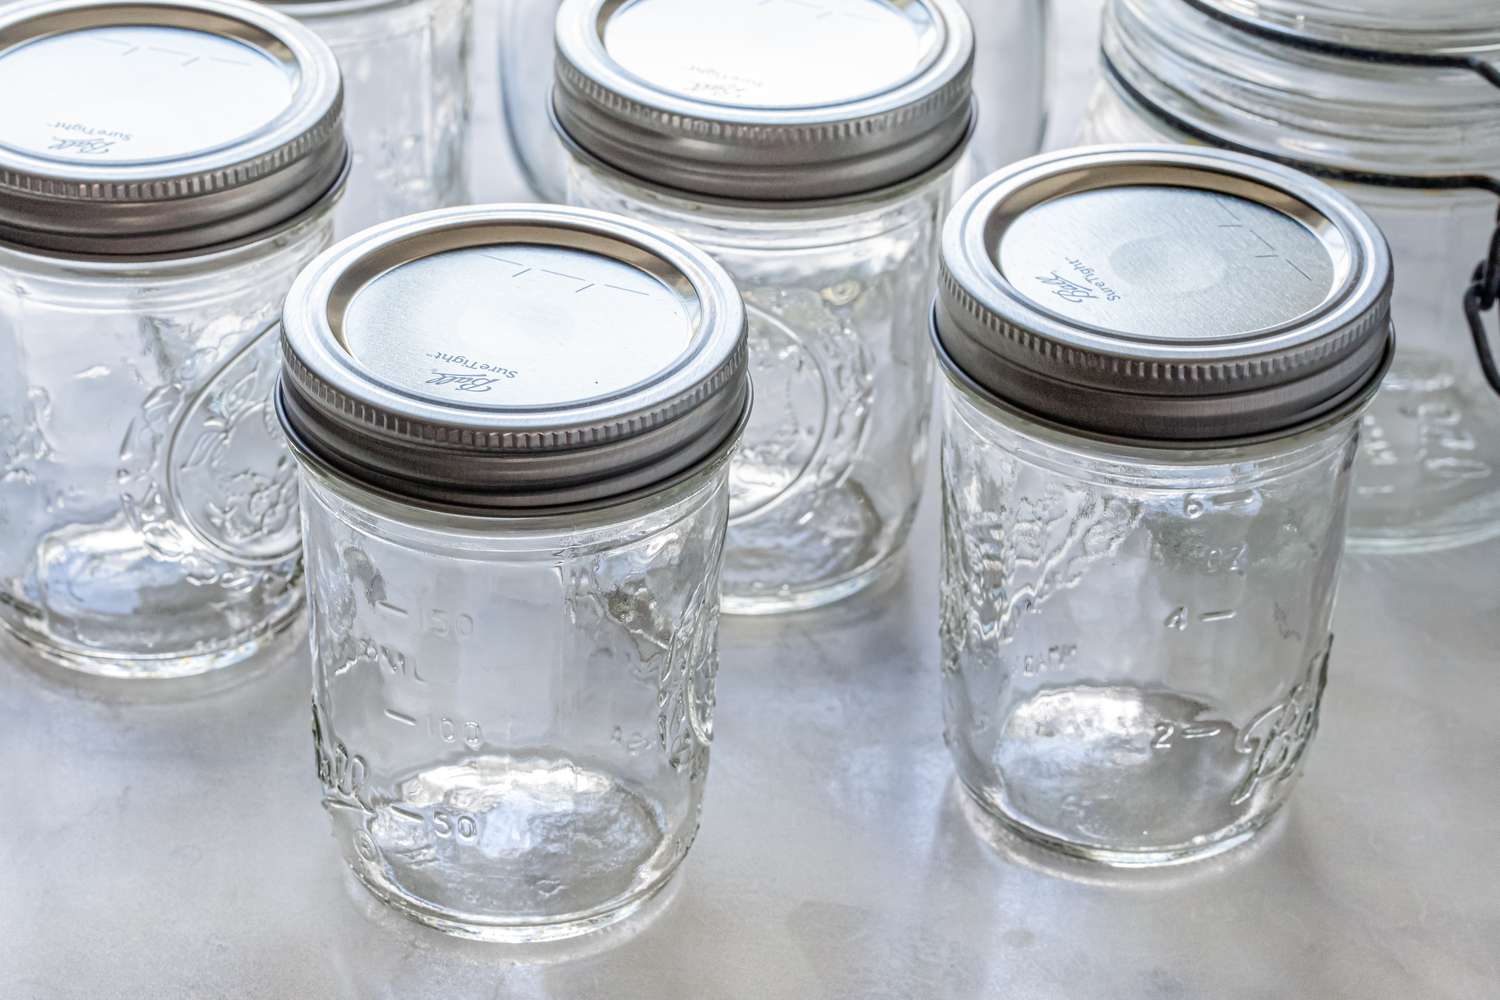
For this reason, we show you how to sterilize jars using the most traditional methods. We will also give you an express trick to make the process faster and easier. There will be no more excuses, now you can fill the cupboard with your culinary creations without worrying about them going bad very quickly, nothing like homemade!
How sterilized canning jars?
You already know that if you want to preserve any food properly, the first thing you should do is sterilize the jars. This process is very simple, although you must take care of the details to ensure a good final result free of microorganisms that can damage your food.
Utensils
- Forceps or pliers. Culinary supply stores sell special tongs for handling jars, but you can also use regular ones.
- 500 ml or 200 ml reinforced tempered glass jar.
- A natural fiber towel (very clean).
- A deep pot.
Process
- Check that the jars are in perfect condition. They must not have breaks or cracks, and the caps must screw on tightly. In addition, they must be seen without traces of rust or scratches.
- To certify the conditions of the lids, fill the jars with water, close them and put them on their sides. If they leak liquid, change the caps for others. If you use used jars, remove any labels or glue.
- Wash your hands very well with warm water and soap, thus completely removing any contaminant. Do this procedure for at least 20 seconds.
- Thoroughly clean the jars. Use a brush, warm water and soap. They must be impeccable, both the lids and the jars.
- Place a folded towel inside a deep pot. It should cover the inner walls of the pot, this way you will avoid that when the water begins the boiling process, the jars hit and break. Additionally, you can place a towel between them.
- Insert the cans vertically and upside down, put the lids around. Pour the water until they are completely covered, at least 2.5 cm above the containers. If you don’t have a very deep pan, you can also put them horizontally. Let them boil for a minimum of 10-15 minutes and a maximum of 30-45 minutes, over high heat, with the lid of the pot on. Once the time has passed, let them cool down in the pot.
- Take them out of the pan with a pair of tongs and place them upside down on a clean towel, absorbent paper, or on a wire rack (this is the best option). Let them drain very well before storing food.
- Preheat oven to 120°C or lower temperature for 5 minutes. Then, arrange the jars on a tray or clean cloth. Put the tray in the oven, wait 3 minutes and turn off. Take the jars out just when you are going to can the food.
- Spray alcohol inside the jars. Although it is not an essential step, some people do it. Use a solution of 96 proof ethyl alcohol (700 cc) and filtered or mineral water (300 cc). Apply it with a spray bottle to the inside of the lid and the jar. Wait two minutes for the alcohol to evaporate completely and fill the jars with the preserves.
Discover How to make homemade preserves of all kinds by entering the link.
Tip: All the elements you use must be impeccable: towel, tweezers, tray, etc.
How to Sterilize Glass Jars without Boiling?
Although it is always preferable to choose the traditional method of boiling the jars, there are also some quite efficient express methods. However, it is important to remember that before using any method you must:
- Wash your hands very well.
- Clean the jars carefully.
- Check the condition of the jars and make sure them are resistant to high temperatures.
- Drain jars upside down on a clean towel after sterilizing.
- Finish drying them very well (preferably using the oven).
- Spray them with a solution of ethyl alcohol and water (2 minutes before use).
With that said, we invite you to review the following quick jar sterilization methods:
- Dishwasher. It can serve you if it reaches high temperatures above 110 °C. Put only the jars (do not put anything else in the dishwasher, not even the lids). Submerge the caps in boiling water for a few minutes. Once sterilized, both the jars and lids, dry them very well.
- Steam oven. Some ovens have the program to sterilize, which is used to prepare jars of jam and preserves, both empty and full.
- Conventional oven. You can use any common oven to sterilize jars. Preheat the oven to 110°C while you arrange the lids and jars on a baking tray. Put the tray in the oven and wait 20 minutes before turning it off. Leave the jars there until canning time.
- In the microwave. Fill the jars halfway with water. Place them in the microwave, separate from each other. Do it two at a time and without the lids (metal damages the microwave). Program 3 minutes or until it boils, using maximum power. Once the time is up, leave them inside until they cool down. Carefully remove the cans from the microwave using a clean towel or clean kitchen towel. Discard the remaining water (if any) and complete drying in the oven, at minimum temperature and with the door open. Finally, sanitize the lids by submerging them in boiling water.
- Thermo mix. Pour 600 ml of water and put the basket inside the glass. Place the jar lids inside. Put the Aroma container in position and place the glass jars upside down. Program 30 minutes/Aroma temperature/speed 1. Once sterilized, they are ready to use.
If you cannot sterilize the jars, we invite you to visit more Food preservation methods so that they last longer and are better preserved.
Tip: Never touch the inside or the rim of the jars after they have been sterilized.
How to sterilize jam jars?
We have already seen how the jars are sterilized by themselves, without content; now we will show you how to sterilize jars with the preserve inside, in this case jam. It is interesting to mention that when we sterilize a jar with some preserves, the process serves two purposes: pasteurize and create a vacuum.
Remember, before this process you should always sterilize the jars previously, using some of the techniques that we mentioned earlier.
Utensils
- Funnel (uses special funnels for canning, whose mouth is specially designed to fit precisely in the jar)
- Plastic soup ladle (will be used to deposit the preserves in the jar)
- Forceps or pliers.
- 500 ml or 200 ml jar.
- A natural fiber towel (neat)
- A deep pot
Process
- Arrange a folded towel in the bottom of a saucepan. The cloth should also cover the sides. There are also special racks that sit in the bottom of the pot, or you can wrap each jar in a towel. Choose a large, deep pot.
- Stand the jars upright. Once filled with the preserve, put the jars with the lid up without colliding with each other. You could also put a towel between them.
- Cover the jars completely with water and cover the pot. When filling the pot with water, remember to leave a couple of centimeters above the tops of the jars (5 centimeters).
- Heat the jars for 20-30 minutes from the start of the first boil.
- Let the jars cool in the pan. When the jars are warm, you can remove them with a pair of tongs. Pat them dry and place them upside down on a clean towel, rack, or paper towels until they cool completely. Wait 24 hours before handling the jars, as they need to be completely cool before you store them.
- Check if the vacuum was made. Press the lid with your fingers trying to sink it, if you can’t, you got a successful process. Another way to check is to see if the lid is bowed (like a dent); if so, at some point it will return to its place and produce a sound, similar to a “clap”, confirming that the vacuum has been made. If the bottle does not have any of these characteristics, open it and consume it immediately.
- If you want an even safer, but longer process, tantalize the preparation. The process is the same as sterilization, but the standard cooking time is 45 minutes. Then, let it cool for 24 hours, at room temperature, and repeat the cooking process. Exposure temperature should be around 100°C.
- Label the jars. Write down the date of packaging and the type of preserve.
- Store the preserve in a clean, dry, dark place. If the process was done correctly and you store it properly, it should last you at least 1 year.
Tip: The jam should be packed while it is still hot.