


Almost every lover of pastries and gastronomy in general has been bitten by the curiosity bug and has wondered “what would it be like to prepare my own bread at home?” The truth is not difficult and the experience is worth it, because the results can be very satisfactory.
Thinking about this, we want to give you all the keys so you can learn how to make homemade bread step by step. We tell you in detail each step of the preparation of the bread, the best tricks to prepare it and the recipes that we like the most so that you can make your ideal bread. Surprise everyone at home with your baking skills!
Types of flour to make homemade bread
Bakery professionals already say it: “flour is the soul of bread”. For this reason, choosing the right flour will define the final product, therefore:
- Choose the type of flour according to the bread you want to make. There are many options; everything is a matter of taste: rice flour, rye, spelled, wheat flour, buckwheat, among others. You can even mix several!
- Select a good quality product and store it properly. You must protect the flours from light, moisture and odors.
- If you choose wheat flour(the best option for beginners), opt for the one that contains between 10-11% and, better yet, 12% vegetable protein. Thanks to gluten, the bread is more spongy and with a thick but flexible crust.
How to prepare a good bread?
When it comes to making homemade bread, it all comes down to choosing good quality ingredients and having patience (as master baker Léonard Longo says). However, patience also implies paying attention and having the discipline to follow the correct steps, important during the preparation of any type of bread:
The kneading
When we need wheat flour bread, we develop the gluten to achieve elasticity and incorporate air into the dough, in this way we manage to give the bread structure. A good kneading will determine the tension that the dough will be able to withstand when the fermentation gases are produced inside. In other words, kneading is like building a house, if the foundations are not well done, at some point it will fall. Breads with other types of flour do not need as much kneading.
Fermentation
Something similar to what happens with wine happens with bread. Dough with short or no fermentation is not the same as dough with long fermentation. When the dough has long periods of rest, the result is exquisite bread (with a crispy crust, tender and tasty crumb) and with greater durability; dough with little fermentation provides tasteless bread with a very short life (it even gets hard the same day). Depending on whether you use fresh yeast or not, the fermentation should last between 3-4 hours or 1-2 hours respectively.
The sourdough
Sourdough is simply natural yeast and you can easily make it at home. But why do I need sourdough if I can use baker’s yeast? The answer is simple: because this ferment provides sensory characteristics to the bread, difficult to achieve with commercial yeast, and gives it personality (especially in taste). For all these reasons, when we ask ourselves how to make homemade bread step by step, we must keep in mind the preparation of the sourdough.
If you want to know all the details about sourdough and how to prepare it, we invite you to review Natural sourdough – what it is how to make it and benefits.
The bake
The importance of baking is fundamental, because during this process the bread finishes growing (it obtains its definitive structure) and its organoleptic characteristics are fully developed. In a few words, the bread is concrete. In the baking process, there are two key points: temperature and humidity (heat and steam).
If you have tried to make homemade bread before and have not been successful, there are aspects such as temperature and climate that play an important role in the preparation of bread and can damage it. Learn more about it in our article why bread goes down in the oven.
How to knead bread – Steps and techniques
The traditional kneading of homemade bread facilitates the incorporation of the ingredients, develops the structure of the dough, degasses the dough, creates the spongy texture of the bread and models its final shape. The kneading process is divided into two stages:
- First kneading: incorporation of ingredients, formation of consistency and first rounding.
- Second kneading: degassing, second rounding, stretching and modeling of the bread (creation of the final shape).
First kneading process
- Add the dry ingredients and then the liquid ingredients slowly. Remember, the mixture may need more or less liquid, depending on the weather and the humidity of the environment.
- Once the ingredients are incorporated, let the preparation rest for 10 minutes. Cover the mixture with a clean cloth or canvas.
- After the time, knead on the counter, making folds with the dough on itself. She adds a little flour or fat on the work surface so it doesn’t stick.
- Repeat this process (rest and kneading), as many times as necessary until you achieve the desired texture: elastic, smooth, not sticky to the touch and does not crack easily.
- Finally, roll the dough (first ball) and place it in a bowl soaked in oil. Also spray the dough on top with oil. Cover the preparation with a cloth and let it ferment (first rise).
Second kneading process
- Degassing: it consists of kneading briefly to remove the air that the dough acquires during the first proofing. Place it on the counter and gently press it down for a few seconds, using the tips of your fingers along the surface.
- Bole ado: bole ado is a technique applied to eliminate irregularities in the dough, creating a smooth surface that can withstand sufficient tension. Thus, during fermentation, the gas will not escape, guaranteeing the sponginess of the final product. Depending on the type of bread and its shape, this may be the final step of the kneading.
- Stretching: some dough’s after rounding are stretched, either with a roller or with the hands, since its final shape deserves it.
How long is the dough left to rise?
The time the bread dough is allowed to ferment is very important. The breaks we give the dough are fermentation periods, which are vital to the structure of the bread and its flavor. It is important to remember that the slower the rising process is, the better the final result will be. However, you should also consider that not all flours support long fermentations (as is the case with low-gluten products), so you should modify the times with this in mind.
- First fermentation (rest): it lasts between 15 minutes or several hours, it all depends on the type of flour we use, the recipe, the temperature and humidity of the environment. This first rising is key because the gluten will develop during this time, in order to achieve a tender, fluffy and aromatic final product.
- Second and third fermentation: it is done to give the shape to the bread. Usually it lasts an hour, but it all depends on the weather (the colder it is, the longer it takes). If we exceed this time, the bread can acquire a more acid taste.
Tip: If you don’t know how long to let the dough ferment, keep in mind that each fermentation ends when the dough doubles its initial volume.
How to make homemade bread step by step?
We have seen all the techniques that we must take into account when making easy and fast homemade bread. Now, we are going to make a simple recipe for homemade bread step by step to see all the recommendations mentioned in a more practical way. Of course, we will not apply all of them because, as we have said, everything depends on the type of flour and, ultimately, on the type of bread.
If you are looking for the best homemade bread recipe, you should know that there is no single recipe considered the best. Each baker has their own tricks and recipes, so we share a delicious white bread and with which you will get perfect bread.
Ingredients for making bread
- 750 g of strong flour
- 15g dry yeast powder
- 2 teaspoons of salt
- 450 ml of warm water
Homemade bread step by step
- Mix the flour with the yeast and the salt.
- Form a volcano and pour warm water into the center.
- Integrate with a wooden spoon until the flour is well mixed with the water.
- Start kneading with your hands on a floured table, folding the dough and exerting enough force for the flour to work properly. If you notice that it sticks too much to your hands, let it sit for a couple of minutes.
- Knead for about 10 minutes so that the dough becomes elastic.
- Form a ball, put it in a container, cover it and let it double in volume. It should rest for 1 to 2 hours.
- Put the dough back on the floured table and knead it for a couple of minutes to deflate it.
- Shape it into the desired shape, place it in the loaf pan or on the baking tray, cover it and let it rest again for 1-2 hours. You can make cuts on the surface if you want your bread to have them.
- Preheat the oven to 230ºC, uncover the bread and bake it for 30-40 minutes or until you see that it is done.
How to make homemade bread with all-purpose flour?
All-purpose flour has a very low percentage of gluten (generally below 10-9%), which is why it is not ideal for preparing bread, although it is excellent for other dough’s such as choux pastry. However, this does not mean that you cannot make good bread with this flour while following almost all the conventional steps. Of course, first you must know certain secrets to prepare good homemade bread with all-purpose flour:
- You will need to add more flour: due to the low gluten content of this type of product, you must compensate for this lack by adding more flour (or prepare your own homemade strong flour). That yes, only a little more (approximately a cup), because if you exceed it, the bread will be very heavy, difficult to digest and with a very caked texture.
- Use little liquid and/or fat: this type of flour contains little protein, therefore its structure is weaker and it does not retain liquid well, so does it. If necessary, decrease the original amount until the ideal texture is achieved.
- Do not overdo the kneading or fermentation: excessive kneading weakens the structure and prolonged fermentation modifies the flavor (it can give it a lot of acidity).
- The first kneading is vital: it will be in this first stage in which you will compensate for the missing gluten by adding more flour. For this, you must sprinkle the flour on the counter, little by little, as you knead. Once the dough is smooth and doesn’t stick to your hands, you can stop adding flour.
Homemade bread recipe with all-purpose flour
After reviewing all the tricks to know how to make easy homemade bread, we are going to share a simple recipe with this type of flour. The ingredients are the following:
- 600 g of common wheat flour
- 350 ml of warm water
- 30 g fresh baker’s yeast
- 10g of salt
- Olive oil
Once you have the ingredients, follow these steps:
- Mix the flour with the warm water. You can do it with your hands to favor the kneading.
- Add the salt and yeast and continue kneading. If you prefer, you can dissolve the yeast in a little warm water before adding it.
- Knead for approximately 6 minutes, form a ball, cover it with a cloth and let the first fermentation take place. It should double in volume and this may take an hour.
- Place the dough on the floured table, knead again, give it a round shape and leave the bread on the oven tray. Make some cuts in the upper part, cover and carry out the second fermentation. Again you need to increase your volume. 1 hour will be enough.
- Brush the bread with olive oil and bake in a preheated oven at 220ºC for 45-50 minutes.
- Let cool on a rack.
How to make homemade bread with flour?
Preparing bread with strong flour is summed up in following the good practices of any baker, since this flour has all the necessary characteristics to make good bread. However, it is worth remembering some essential aspects that differentiate it from other flours:
- Strength flour is ideal for long fermentations.
- Withstands prolonged kneading.
- Better supports liquids and fats.
- It works well with large amounts of ingredients.
- You don’t need extra flour; just knead well to develop the gluten.
- It works with ease.
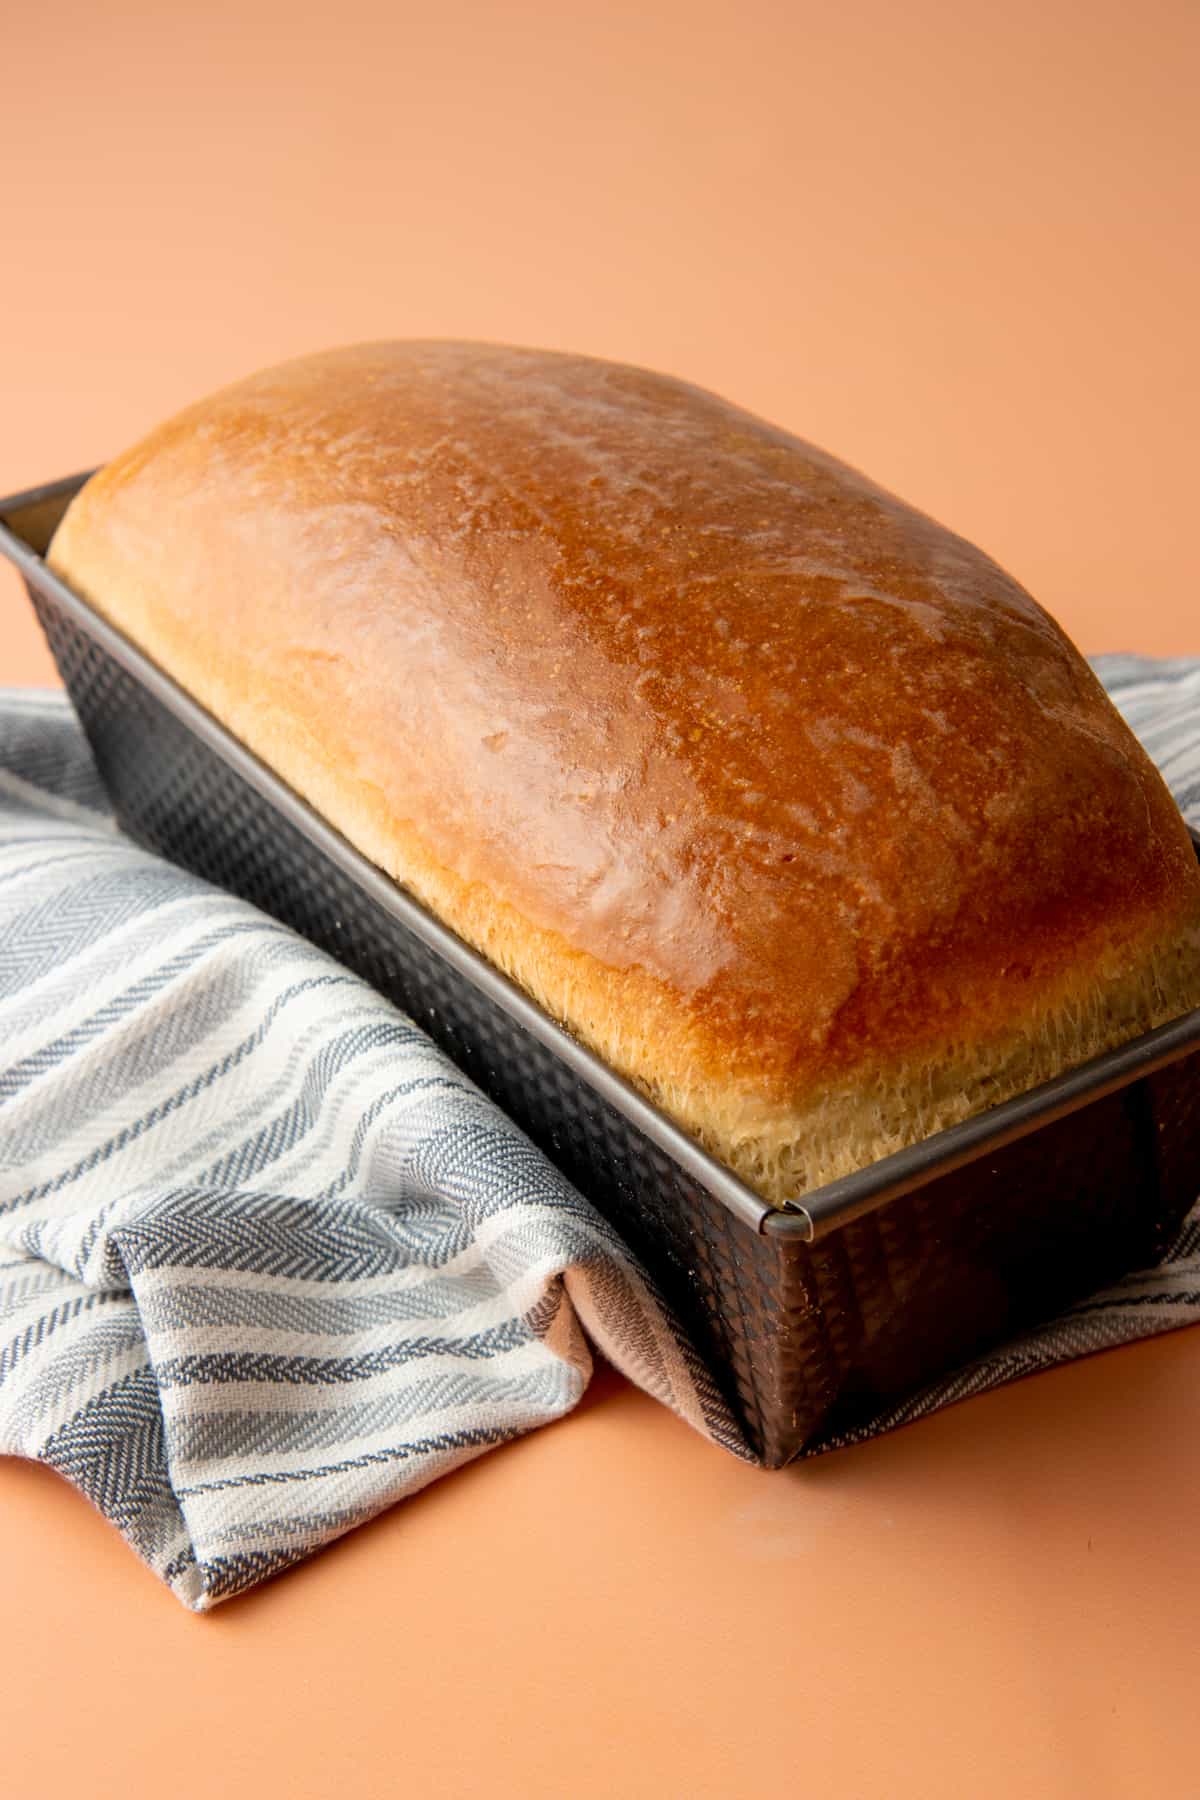
Homemade bread recipe with strong flour
We are going to teach you how to prepare a loaf of bread with this type of flour. The ingredients are:
- 180 ml of warm water
- 12 g fresh baker’s yeast
- 400 g of strong flour
- 3 tablespoons olive oil
- 2 teaspoons of salt
The steps to follow are those:
- Dilute the yeast in the warm water and reserve it for a moment.
- Mix the flour with the oil and the salt. For softer homemade bread, sift the flour first. In addition, this step will add air to the dough, which, let’s remember, is essential to obtain a good bread.
- Add the water little by little and start kneading.
- Make a ball, cover it with a cloth and let it ferment for about an hour.
- Place the dough on the floured work surface, knead and give it an elongated shape.
- Put the bread on the oven tray, cover again and let it do the second fermentation. This time you will need two hours.
- Preheat the oven to 200ºC, make cuts on the surface of the bread, paint it with a little oil and bake for 25 minutes. The final time will depend on the type of oven, so assess if your bread needs more time.
- Let cool on a rack.