The raspberry is native to Greece and, from there, it spread to other regions of Europe such as Italy and England, to later reach North America. In this way, we see that it is a plant that since ancient times has been highly appreciated and valued.
Today the fruit of the raspberry, the raspberry, is one of the most common foods on any table and in any country, which is why it is common to find all kinds of desserts made with this product. However, this time we have decided to prepare a basic and simple recipe, raspberry jam! Homemade jams allow us to take advantage of seasonal fruit and enjoy products without preservatives or artificial colors. In addition, they are very easy to make, they have few ingredients and they are delicious. Keep reading to discover in this article how to make homemade raspberry jam.
Ingredients to make homemade raspberry jam:
- 1 cup fresh raspberry
- 3 sheets of gelatin or agar-agar
- 3 tablespoons of sugar or stevia
- 1 tablespoon vanilla essence (optional)
- 4 tablespoons of water
- ½ lemon (the juice)
How to make homemade raspberry jam:
- Wash and dry the raspberries with kitchen paper.
- Be very careful when doing this step because they are very soft and could break.
- Place the fruit in a saucepan and heat over low heat.
- Tip: If making frozen raspberry jam doesn’t require letting the fruit thaw, add it directly to the casserole.
- Add the sugar or sweetener that you like the most, moving carefully and trying to mix well with the fruit.
- In the case of making the raspberry jam with stevia, the amount is indicated in the list of ingredients, 3 tablespoons, since we have chosen to add a small amount of sugar.
- However, if you choose to use regular sugar, you can add more if you wish.
- Tip: You can also make the raspberry jam with panela if you want it to be sweet but the result is healthier.
- Add the juice of half a lemon dissolved in a little water and stir gently. Let the raspberry jam cook over low heat for 15 minutes.
- Lemon juice prevents the fruit from sticking to the casserole and keeps the homemade jam for longer because it is a powerful natural preservative.
- Separately, put three sheets of neutral gelatin in water to hydrate them.
- We recommend putting them in separate containers so that they do not stick together.
- Let them soak for a few minutes and add them to the casserole well drained.
- Stir gently for 5 minutes and add a little vanilla essence to give it a touch of flavor; if you prefer you can do without vanilla.
- Keep mixing for 3 more minutes and voila. Now you can decide if you crush the jam to give it a texture similar to that of honey or if you leave it as it is.
- Keep in mind that as it cools it will thicken.
- Tip: You can make canned raspberry jam or consume it in a week (reserving it in the fridge) if you don’t pack it vacuum.
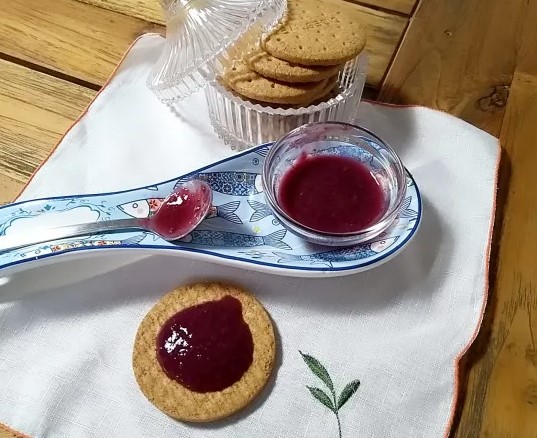
- This raspberry jam recipe is perfect for breakfast, with biscuits, toast or a piece of cake. For us, it’s the best raspberry jam out there because it’s all natural!
- A recommendation: spread a cookie or toast with cream cheese and, on top, jam, delicious!
- Tip: If you like the texture of the fruit to be more noticeable, you just have to add a few raspberries 5 minutes before the end of cooking.


